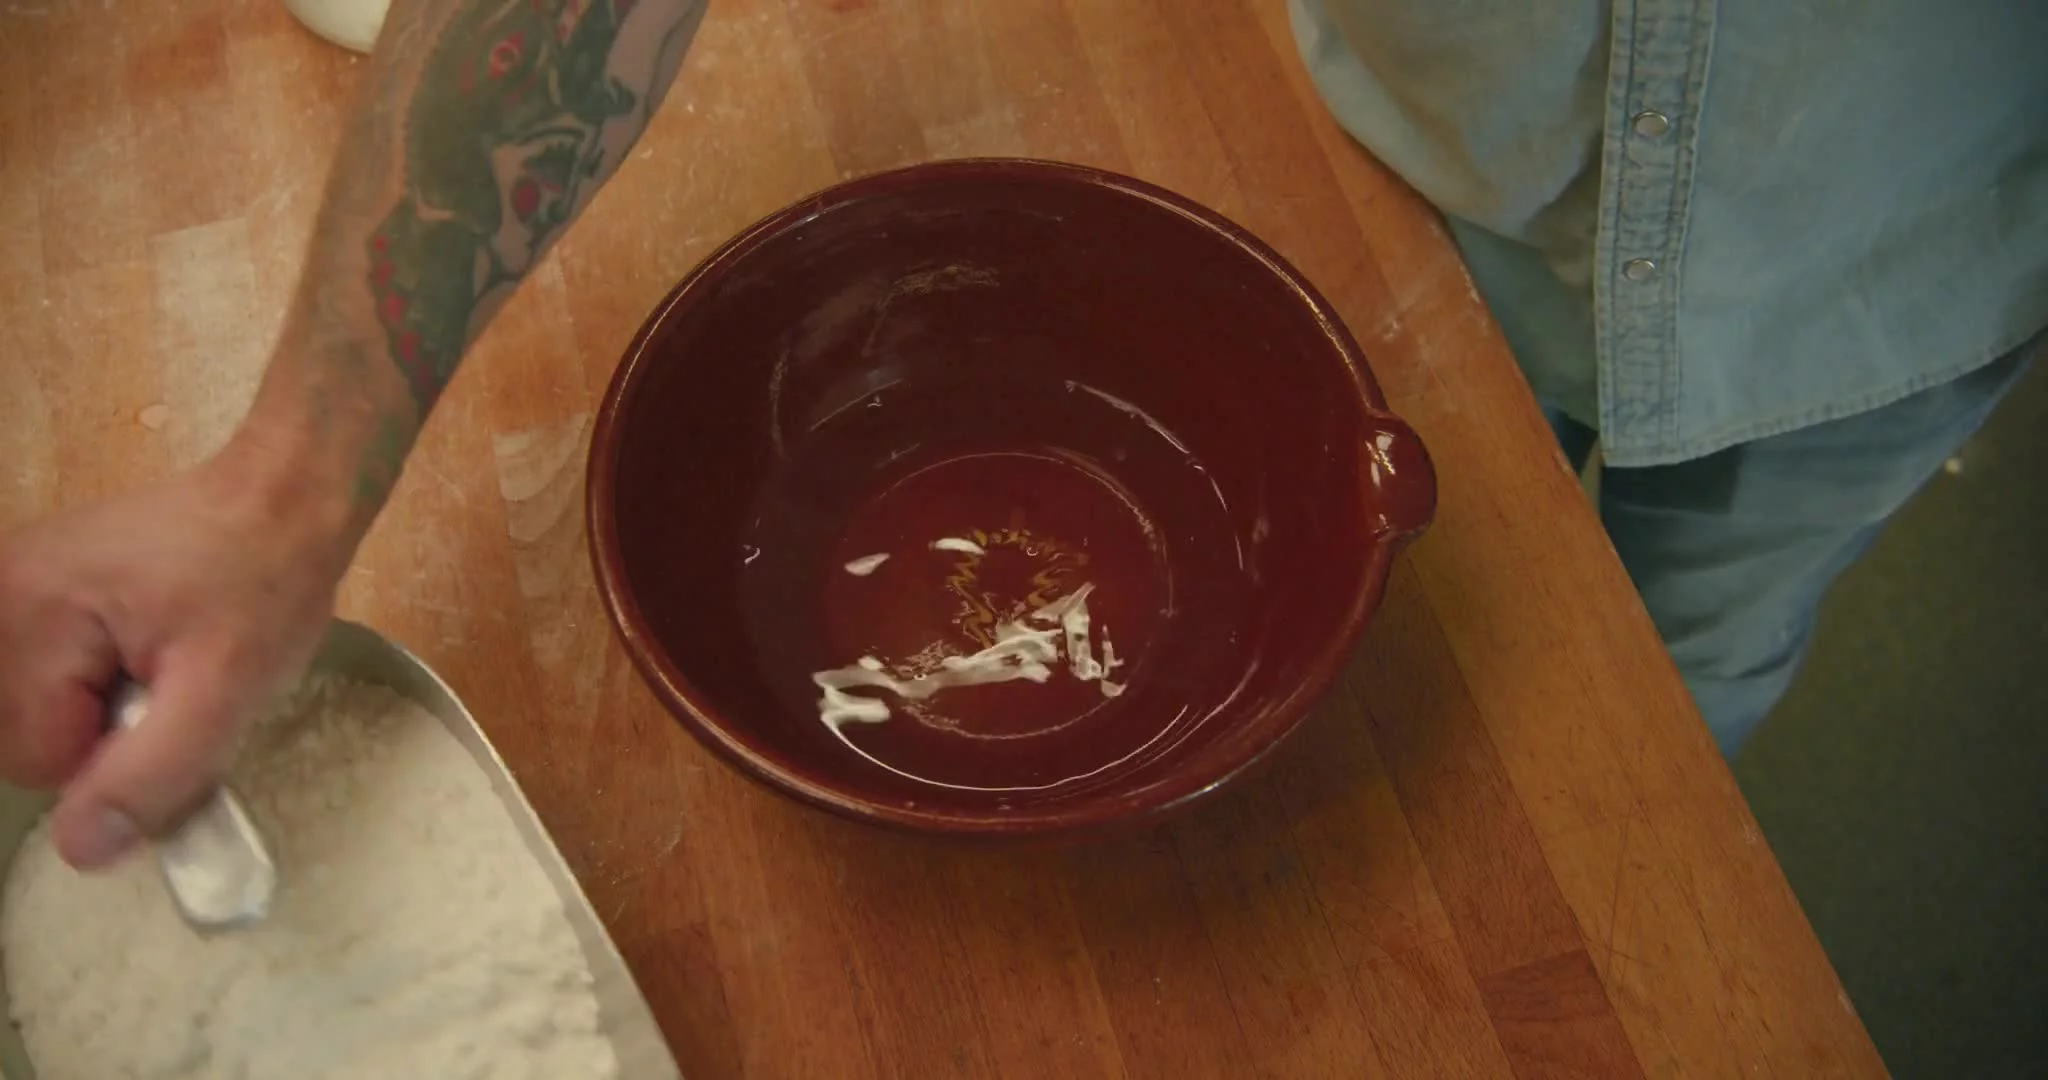
For the initial mix, or autolyse, you simply combine the flour and the water until there’s no dry flour remaining. You don’t need to beat the dough; just mix it together.
Then, use your flexible plastic bowl scraper to get the excess dough from your hands back into the bowl. Scrape down the insides of the bowl, making sure all the dough is together and your bowl looks clean along the sides.
Cover your bowl with a clean tea towel to stop the surface of the dough from getting too dry and forming a skin. Let it rest for at least 20 minutes. This is the stage where the gluten starts to develop, which creates a strong dough without you having to put any effort into mixing or kneading.
You get the benefits of autolyse after 20 minutes, but you can leave your dough for up to a couple of hours to give yourself some flexibility. I typically leave my dough for 45 minutes, because that’s how long it takes for my starter to come alive.
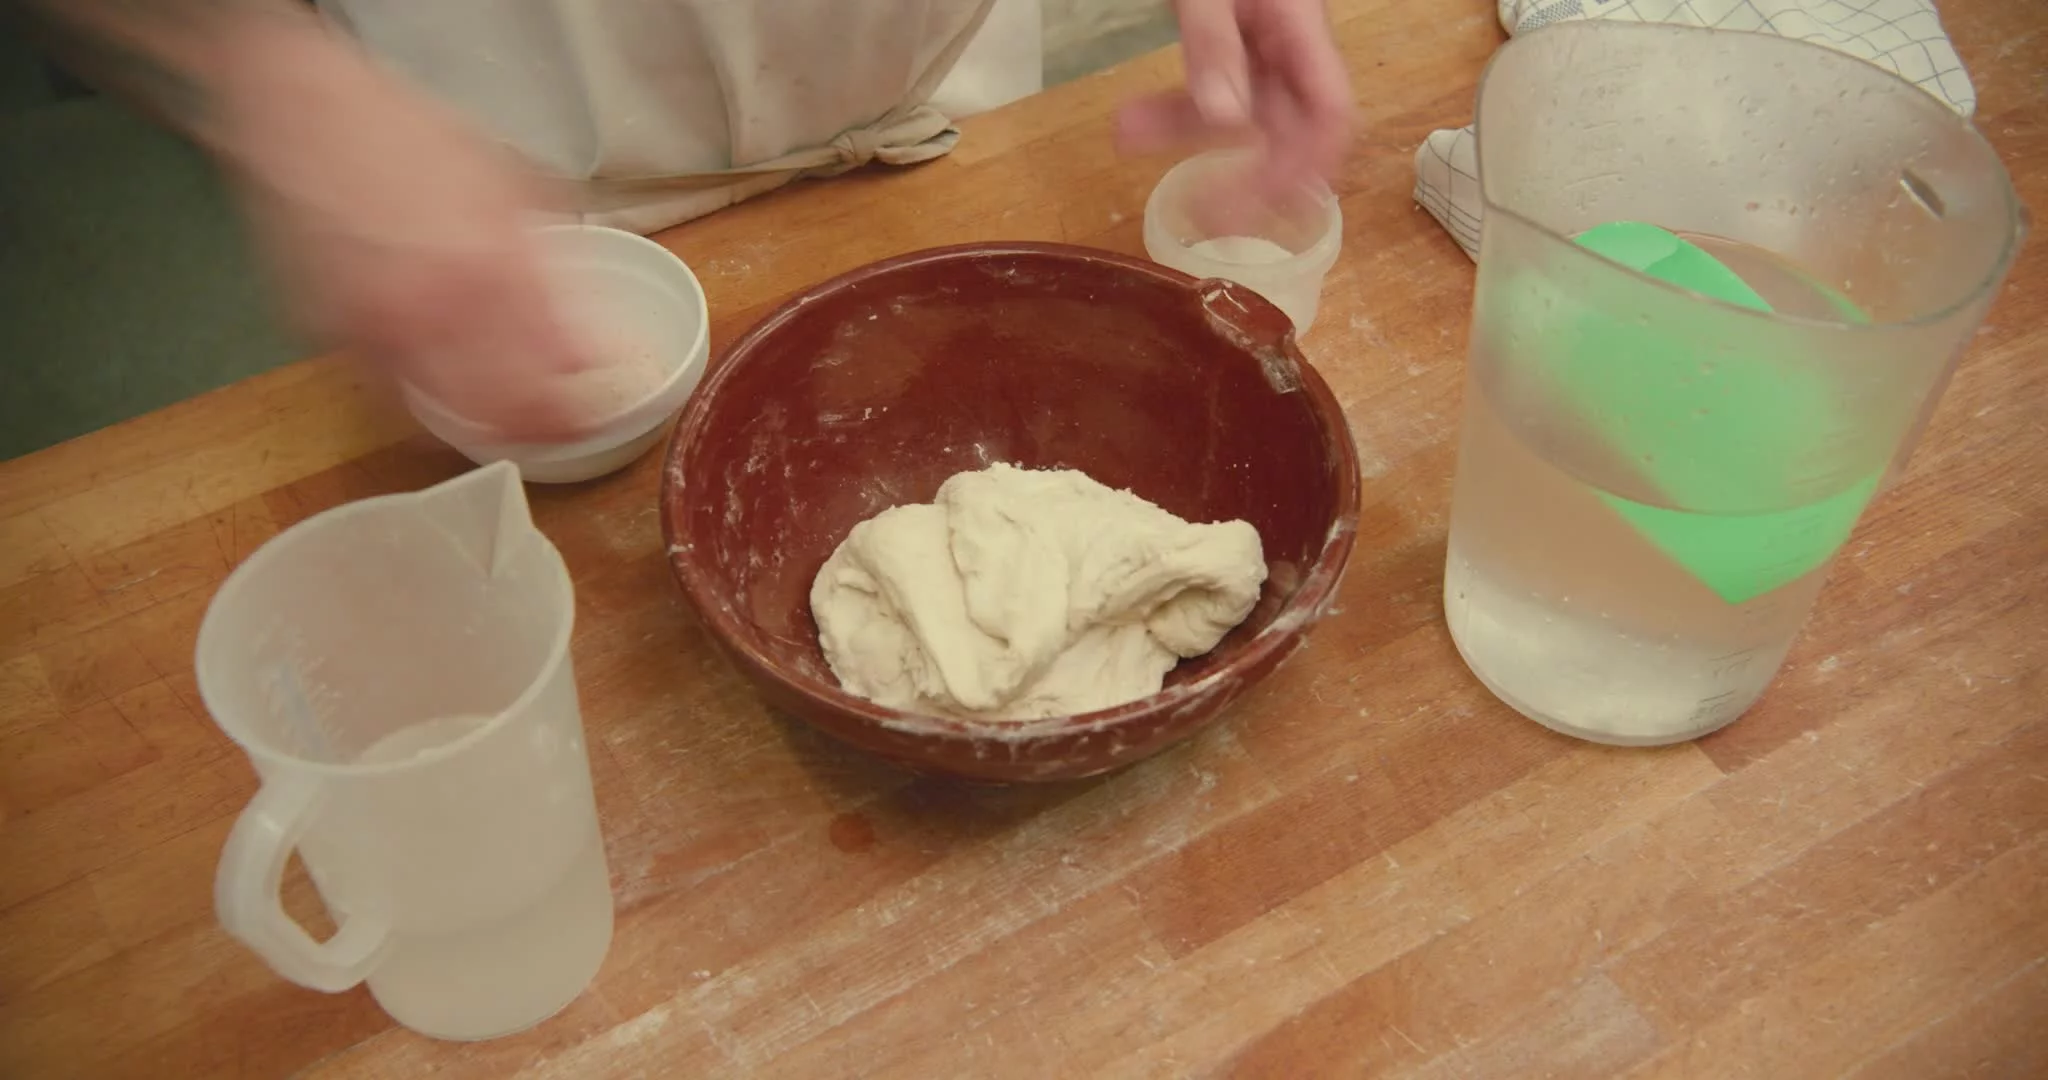
I use a two-step method for hydrating my sourdough loaves.Most of the water goes into the dough at the autolyse stage,but I always hold back a small amount of water that will go in after the starter is mixed in. This step is called bassinage.
Once you have added all the water, add the salt and keep massaging until it’s fully dissolved and absorbed. Salt acts to slow down fermentation, and in large amounts would even kill it, which is why I like to get the fermentation going before adding salt.
I’ve made plenty of salty mistakes in my time, such as not adding any, or adding it twice. Doubling the salt hugely limits fermentation, and no salt at all makes your dough crazy active, fermenting way quicker than usual.
I only ever fold dough that I’m mixing by hand. Due to minimal mixing and no kneading, hand-mixed doughs need to be strengthened. Folding does this by physically helping alongthe gluten formation.
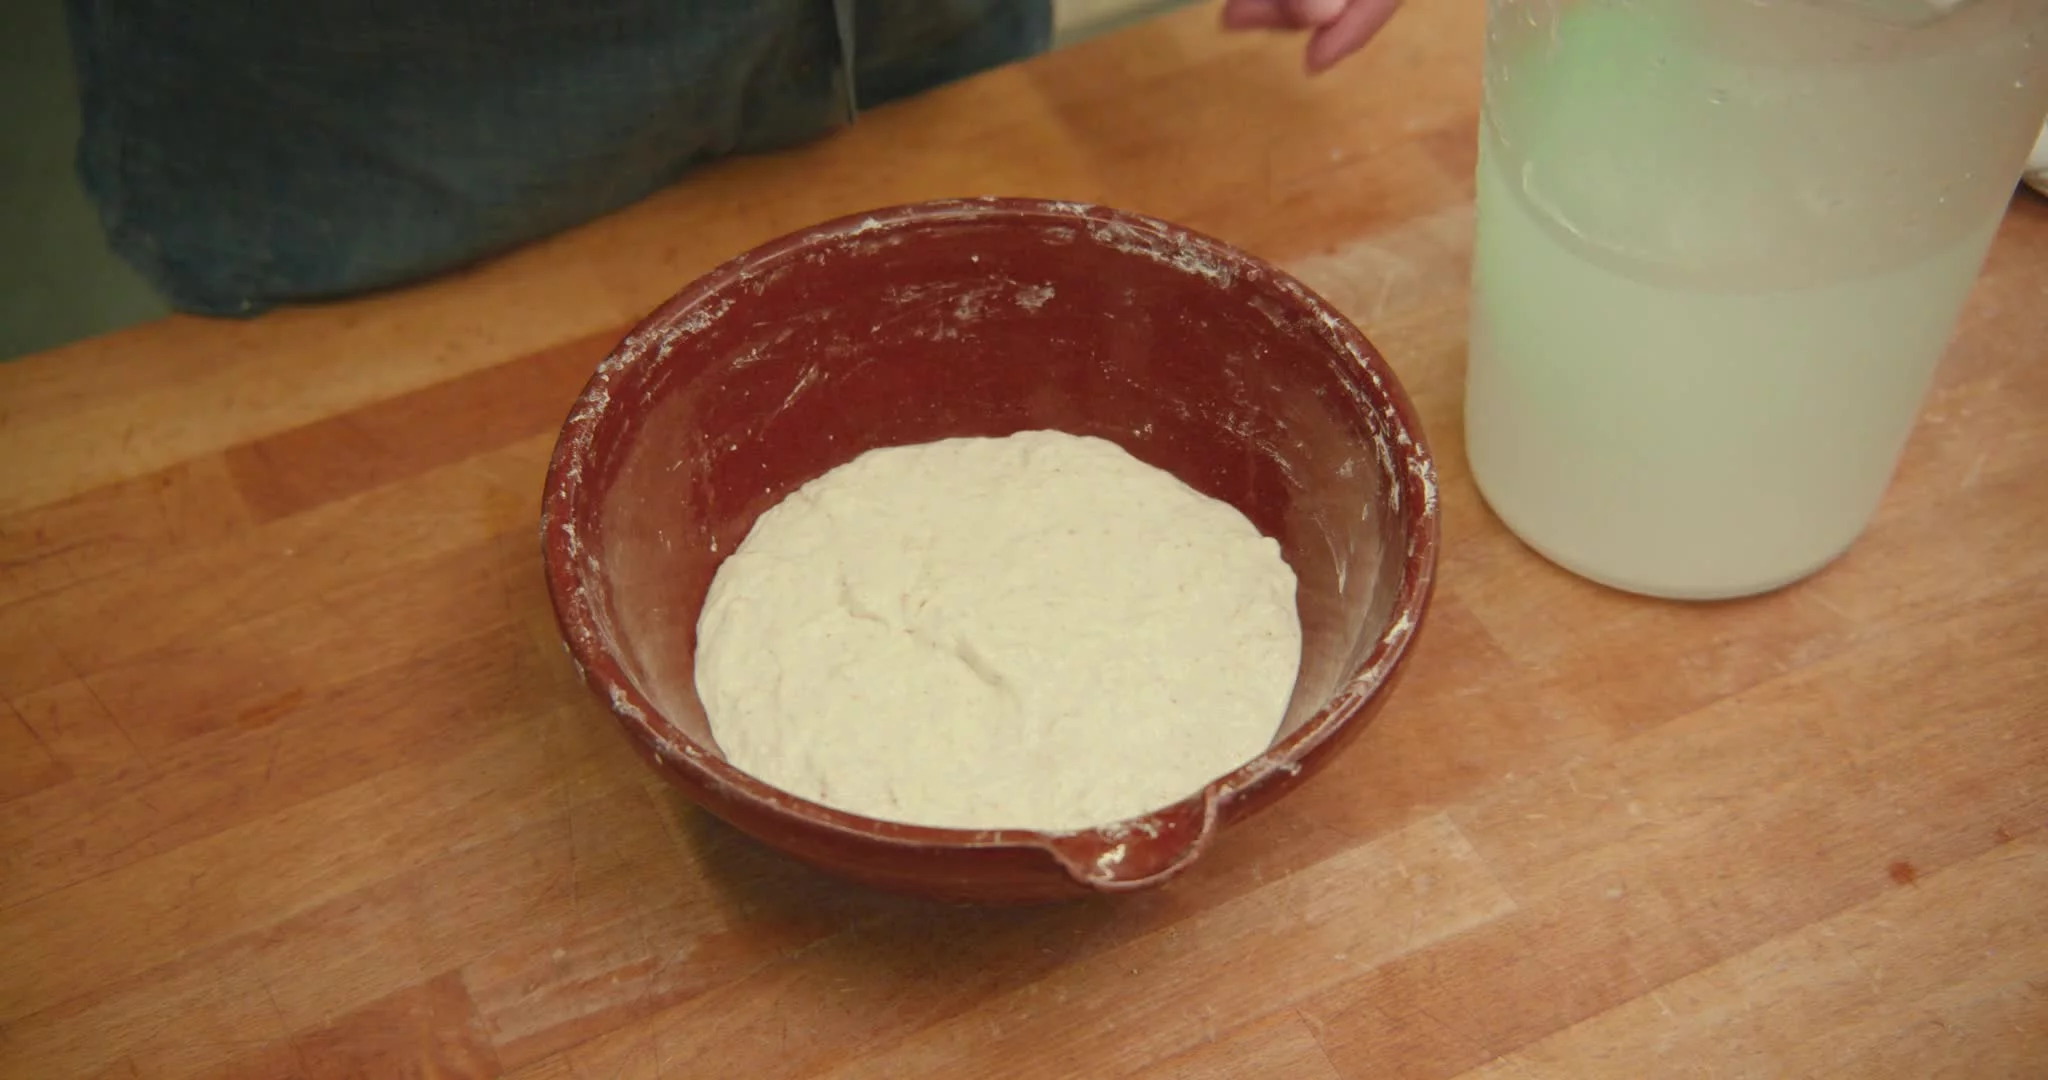
To fold the dough: Keeping the dough in the bowl, gently lift and pull it toward you, and fold it over itself. At first, it will pull very easily and stay where you leave it. Rotate the bowl a quarter turn and fold it again, then give the bowl another quarter turn and fold it again. After four or five turns and folds, it will be as tight as it needs to be and the dough will resist being folded any more. That’s when you know it’s time to stop. I fold the dough twice during the first 1 ½ hours of fermentation (once after 45 minutes and again at 90 minutes).
After that, I like to leave the dough alone to ferment and let all the lovely flavorful gases build up undisturbed. Folding also gives you a good opportunity to check on your dough. As bulk fermentation progresses, you should start to see it come alive, with a few air bubbles.
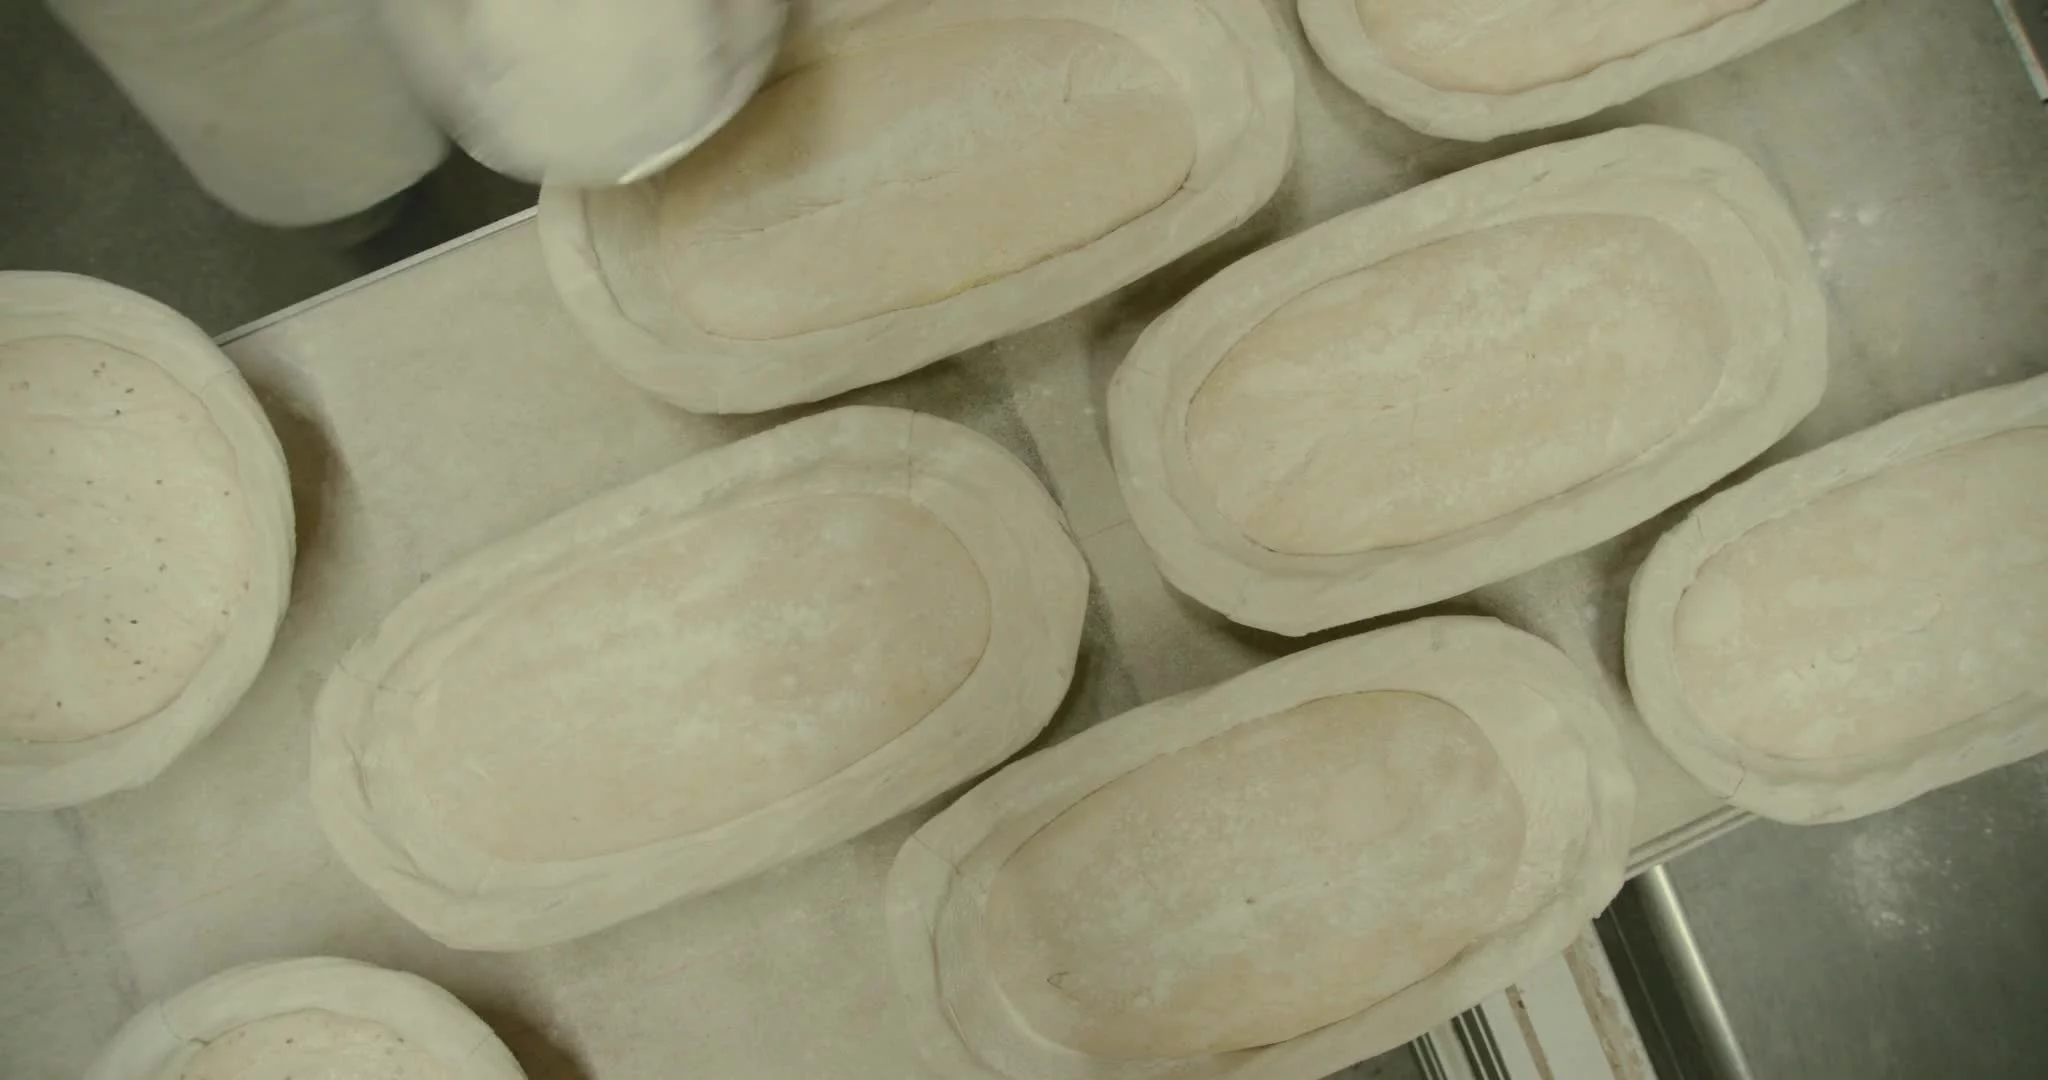
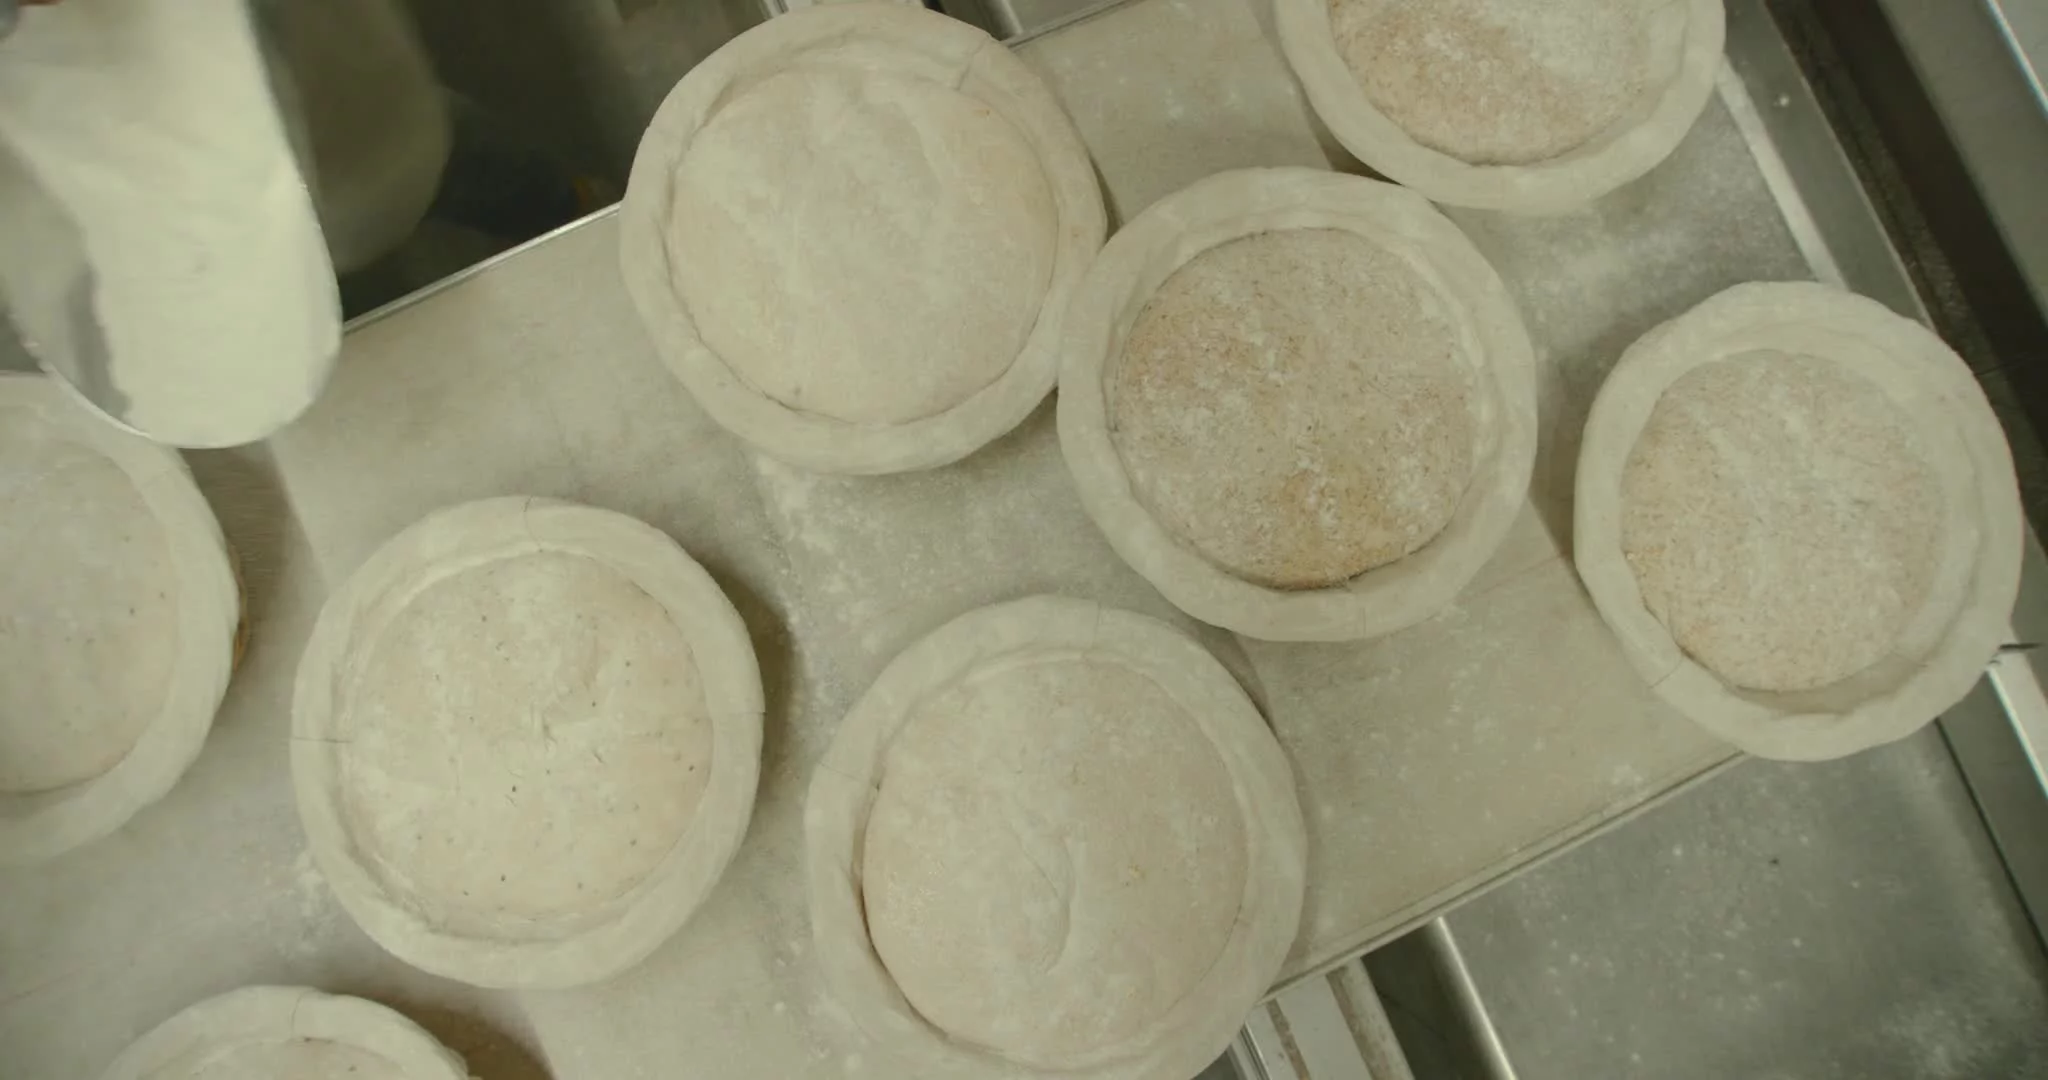
To preshape your dough, gently use your flexible plastic scraper to ease the bread out of the bowl or container in which it was bulk fermented and onto your clean, dry work surface. Treat it tenderly. You don’t want to be rough with it and de-gas it, bursting all the air bubbles in it and sending them out of the dough.
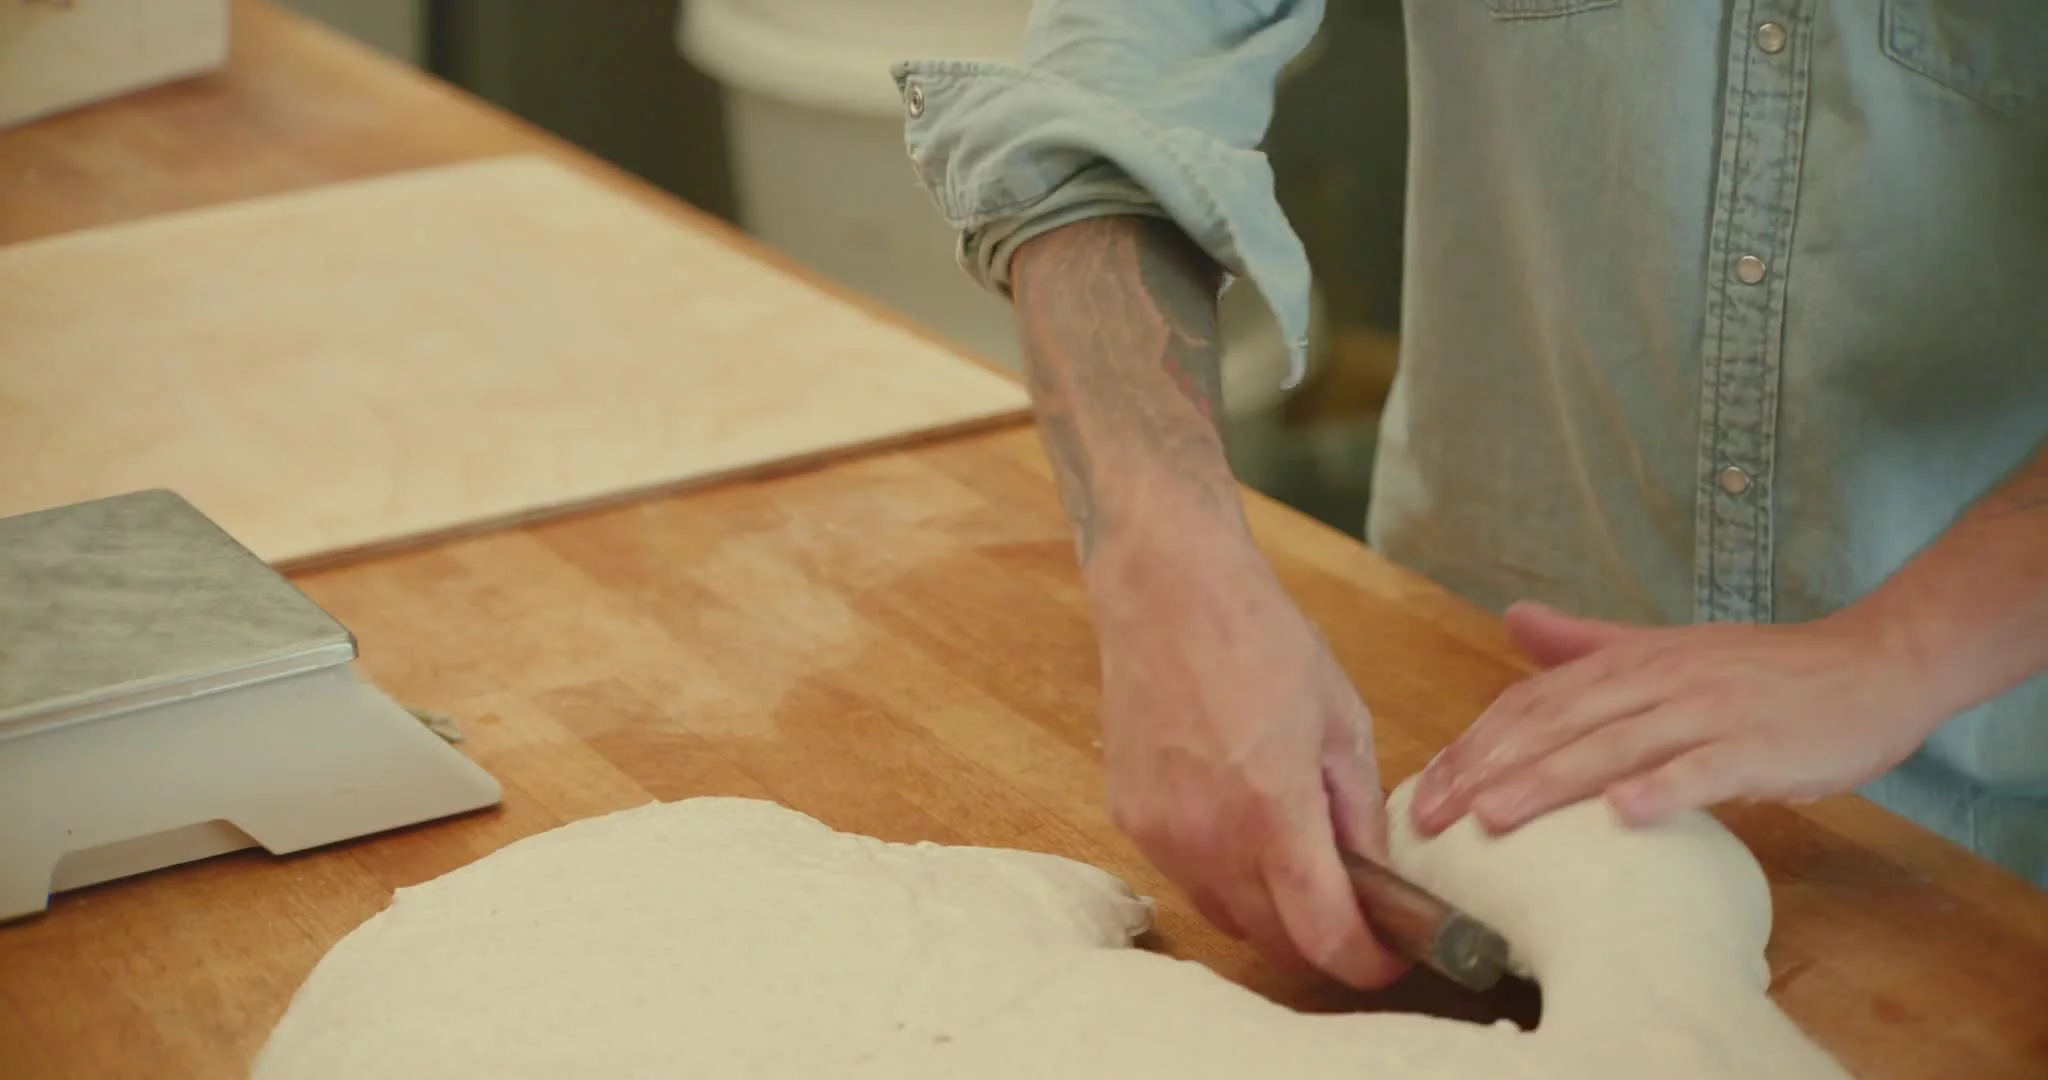
With wet hands and your bench scraper, quickly and decisively divide the dough, using a digital scale if necessary to make sure that the dough is evenly divided. Get one piece directly in front of you. Don’t be afraid to pick it up with your bench scraper and move it to where you need it. Using your hand and bench scraper in unison, work the dough toward you, using your fingers to swiftly tuck the outer edges back under the surface of the loaf, shaping it into a neat round (or oval) with good surface tension. Confident, swift movements are best. There will be some sticking, which is why wet hands are essential. Try not to work the dough too much. You don’t want to let out the beautiful gases you’ve spent all this time creating. It takes a lot of practice, but you’ll know when you have it right — it should look like there’s a nice, tight skin wrapping the ball of dough, and it should sit up a bit proud.
Sometimes you’ll see bread with lots of pretty slashes in the crust, or even whole works of art. This isn’t just decorative; it’s important to score your bread. As the yeasts expand in the oven, the increasing amount of gas needs somewhere to go, an escape route. If you didn’t create a pathway with a score, it would blow up from the sides or the bottom of the loaf. So when you’re scoring, you’re dictating where the bread will split or grow. This way, you’re in charge of its beauty.
Use a lame and a razor blade. Hold the lame delicately in between your thumb and first two fingers. Score the dough quickly and decisively, using the corner of the blade. You want to keep almost flat against the bread, maybe at a 10- to 15-degree angle. You’re just slashing the “skin” open a bit not carving a deep gulley. Keeping the depth even on every score is important, too; remember, you’re creating pathways for the gases to escape, so the more evenly the scores go across the loaf, the more consistent the crumb and texture of the bread will be. This is something you will learn over time, but if your bread is looking slightly underproofed (relatively lifeless and flat) that day, you should score deep, and if it’s looking slightly overproofed (too puffy or marshmallowy), you should score shallow.
Sometimes you’ll see bread with lots of pretty slashes in the crust, or even whole works of art. This isn’t just decorative; it’s important to score your bread. As the yeasts expand in the oven, the increasing amount of gas needs somewhere to go, an escape route. If you didn’t create a pathway with a score, it would blow up from the sides or the bottom of the loaf. So when you’re scoring, you’re dictating where the bread will split or grow. This way, you’re in charge of its beauty.
For breads with a lot of grain on top, I use scissors. I cut 6 to 8 little snips (1 inch / 2 to 3cm deep) through the center of the loaf, holding the scissors nearly flat to the surface of the bread, which gives it a mohawk effect.